How do I polish the edges of quartz with polishing pads?
Jul 14, 2025
Hey there! As a supplier of Quartz Polishing Pads, I've had my fair share of experience in the world of quartz polishing. Today, I'm gonna share with you how to polish the edges of quartz using polishing pads.
First off, let's talk about why polishing the edges of quartz is so important. Quartz countertops are super popular these days, and a well - polished edge can really make a huge difference in the overall look and feel of the piece. It gives that smooth, professional finish that not only looks great but also protects the edges from chipping and damage.
Now, let's get into the nitty - gritty of the process. The first thing you need to do is gather all the necessary tools. Of course, you'll need the right polishing pads. We offer a great range of Metal Bond Wet Polishing Pads that are specifically designed for quartz. These pads are made with high - quality diamonds that can effectively remove scratches and create a smooth surface.
You'll also need a good backing pad. Our Snail Lock Backing Pads are a great choice. They provide a secure connection between the polishing pad and your polishing machine, ensuring even pressure distribution and better results.
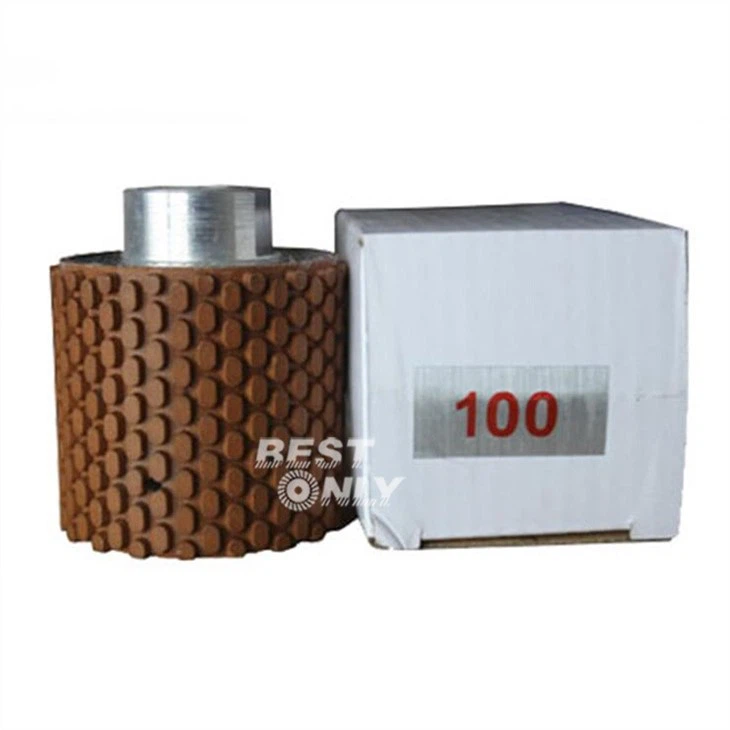
And if you have some rough edges that need to be pre - ground before polishing, our 2 Inch Resin Drum Grinding Wheels are just the thing. They can quickly and efficiently shape the edges of the quartz to the desired profile.
Once you have all your tools ready, it's time to start the process. The first step is to clean the edge of the quartz thoroughly. Any dirt, dust, or debris can interfere with the polishing process and leave behind a less - than - perfect finish. You can use a mild detergent and a clean cloth to wipe down the edge, then dry it completely.
Next, if the edge is very rough, use the 2 Inch Resin Drum Grinding Wheels to pre - grind the edge. Start with a coarse - grit wheel to remove any large bumps or irregularities. Make sure to keep the wheel moving evenly along the edge to avoid creating any uneven spots. You may need to make several passes with the wheel until the edge is relatively smooth.

After pre - grinding, it's time to start the polishing process. Begin with a low - grit polishing pad. The low - grit pads are used to remove the scratches left by the grinding process and start to create a smooth surface. Attach the low - grit Metal Bond Wet Polishing Pad to the Snail Lock Backing Pad and then to your polishing machine.
Turn on the polishing machine and apply a small amount of water to the edge of the quartz. The water acts as a coolant and lubricant, preventing the pad from overheating and also helping to carry away the debris. Move the polishing machine slowly and steadily along the edge, applying gentle pressure. Make sure to cover the entire edge evenly.
As you progress, you'll notice that the edge starts to become smoother. Once you're satisfied with the result of the low - grit pad, switch to a higher - grit pad. Higher - grit pads are used to further refine the surface and create a shinier finish. Repeat the same process with the higher - grit pad, moving slowly and evenly along the edge.
You'll usually need to go through several grits of polishing pads to achieve the desired finish. Start with a coarse grit like 50 or 100, then move up to 200, 400, 800, and finally 1500 or even higher if you want a super - shiny mirror - like finish. Each time you switch to a higher - grit pad, the edge will become smoother and shinier.
Throughout the process, keep an eye on the pad and the surface of the quartz. If the pad starts to wear out or becomes clogged with debris, replace it with a new one. Also, make sure to check the edge for any remaining scratches or uneven spots. If you find any, you may need to go back to a lower - grit pad to correct them.
Once you've finished using the highest - grit pad, give the edge a final cleaning. Use a clean cloth and a mild cleaner to remove any residue from the polishing process. Then, dry the edge thoroughly. You should now have a beautifully polished edge that looks great and is ready to be installed.
Now, I know this may seem like a lot of work, but with the right tools and a little practice, you can achieve professional - looking results. And that's where we come in. As a supplier of Quartz Polishing Pads and related tools, we're here to provide you with the high - quality products you need to get the job done right.
Whether you're a professional stone fabricator or a DIY enthusiast, our products are designed to make your quartz polishing projects easier and more successful. If you're interested in purchasing our products or have any questions about quartz polishing, don't hesitate to reach out. We're always happy to help you find the right tools for your project and offer any advice you may need.
In conclusion, polishing the edges of quartz with polishing pads is a process that requires the right tools, a bit of patience, and some attention to detail. By following the steps I've outlined above and using our high - quality products, you can create beautiful, polished edges that will enhance the look and durability of your quartz countertops. So, if you're ready to take on your next quartz polishing project, give us a shout and let's get started!
References:
- Industry knowledge and experience in quartz polishing
- Product specifications and guidelines of Metal Bond Wet Polishing Pads, 2 Inch Resin Drum Grinding Wheels, and Snail Lock Backing Pads.